Easy Braided Bracelet
 Easy Braided Bracelets and Friendship bracelets in general are one of the most classic crafts done at camps world-wide, and one of my favorites. There are a few basic types of friendship bracelets, but this is the easiest. It may not be challenging enough for older girls, but it’s perfect for younger girls making their first friendship bracelet.
Want to share photos of your troop and finished projects? Contact Us!
![]() Materials Needed:
Materials Needed:
- 3 colors of craft thread
- Masking tape or safety pins
- Ruler or tape measure
- Scissors
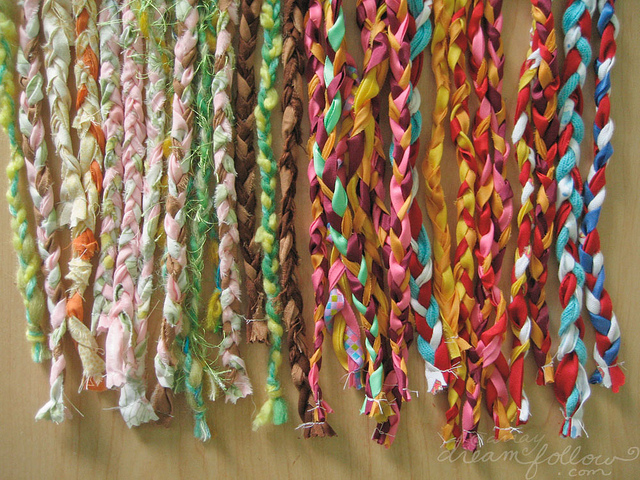
![]() Directions:
Directions:
- Cut 5 pieces each of 3 colors of craft thread. Each piece should be 24″ long.
- With all the ends even, loop together at one end and knot. This loop will be the closure.
- Tape or pin the looped end on a clipboard, pillow, or book to hold it in place while you are braiding.
- Separate the 3 colors and braid together, taking the left group over the center group, then the right group over the new center group until the braid is long enough to wrap around your wrist.
- Once the braid is long enough, tie a knot at the end, leaving a 4″ tail and trim.
- Wrap the bracelet around your wrist and tie the tail end to the looped end.
![]() Safety Tips!
Safety Tips!
- Only older girls should use the safety pins to secure the starting end of the bracelet.