Posts Tagged "Crafts"
Cricut Halloween Craft Contest!
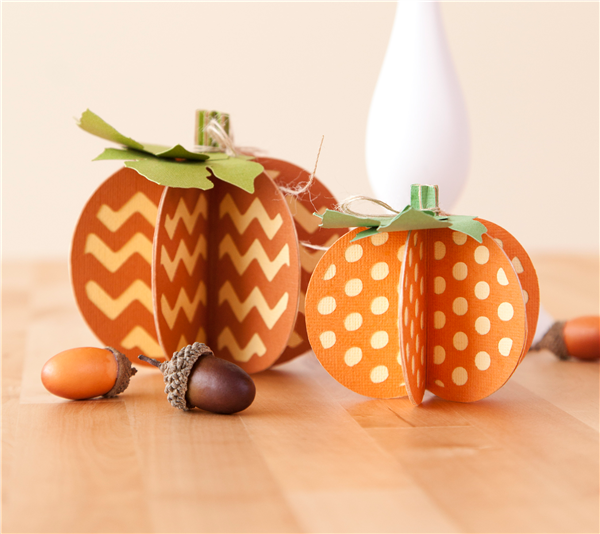
![]() Halloween inspires so many delightfully devilish crafting projects that it is no wonder there should be a celebration! Enter to win the Cricut Halloween Giveaway, where you could win a Cricut gift card for $50, $75 or even $100! Winning designs will be posted on the Cricut Facebook page!
Halloween inspires so many delightfully devilish crafting projects that it is no wonder there should be a celebration! Enter to win the Cricut Halloween Giveaway, where you could win a Cricut gift card for $50, $75 or even $100! Winning designs will be posted on the Cricut Facebook page!
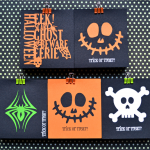
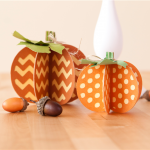
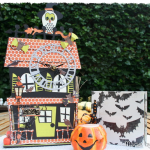
Here are some designs that I found on the Cricut site to get your creative juices flowing. If you need to stock up on your Cricut supplies in order to give your designs that extra bit of spook, great news—Cricut offers free shipping on all orders of $31 or more through 10/31!
Good luck, and may the best ghost or goblin win! Submit your Entry to Cricut’s Halloween Contest here!
Read MoreFriendship Bracelet Knots
 There are a number of types of knots to be used when making friendship bracelets. Here’s some descriptions of those knots.
Left-Hand Knot:
Start with the thread on the left. Loop the left thread over, around and under the thread to the right. Bring through and pull upwards towards the right side. Repeat to finish the knot.
Right-Hand Knot:
Start with the thread on the right. Loop the right thread over, around and under the thread to the left. Bring through and pull upwards towards the left side. Repeat to finish the knot.
Left-Right Knot:
This knot starts as a left-hand knot and ends as a right-hand knot so that the starting thread ends up on the left when the knot is complete.
Right-Left Knot:
This knot starts as a right-hand knot and ends with a left-hand knot so that the starting thread ends up on the right side when the knot is completed.
Clothespin Reindeer
This Clothespin Reindeer is a great easy craft for younger girls. I used to make these with my grandmother too, so it’s a great family craft. You can use these very basic instructions or allow the girls to embellish the reindeer clothespins more with paints, glitter, ribbons, etc. Super easy and super cheap.
![]() Materials Needed:
Materials Needed:
- Wood spring clothespins
- #12 flat brush
- Water container
- Palette or plastic plate
- Red mini pom poms
- Small wiggle eyes
- Hot glue gun
- Hot glue sticks
- Thick craft glue
- Honey Brown acrylic paint
![]() Directions:
Directions:
- Paint wood area of three clothespins Honey Brown. Let dry.
- Position two clothespins side-by-side and adhere with glue.
- Position third clothespin in opposite direction and adhere to small end of double clothespins for reindeer head.
- Position and adhere eyes and pom pom nose.
![]() Safety Tips!
Safety Tips!
- Adults should work with the hot glue gun only.
The Girl Scouts Fabric Collection
I’ve always got my ear to the ground, and when I saw this I thought it was pretty awesome. Fabric.com is now selling Girl Scout Fabric themed prints. I’ve seen more and more Girl Scout crafty things at retail stores (like the scrapbooking kits at my local craft store), but this is really cool for any sewing or other fabric related crafts for troops to take part in.
 The fabric is 100% cotton, 44” wide and most are roughly $9 per yard.
The Girl Scouts® Fabric Collection celebrates the spirit of this treasured organization with a combination of fun and colorful designs. Inspirational words mix easily with “Think Green” slogans and the traditional Girl Scouts® cookies. This collection is appropriate for quilting and craft projects as well as apparel and home decor accents.
I promise to find more crafts to share that you can use this fabric for!
Read MoreGobble Gobble T-Shirts
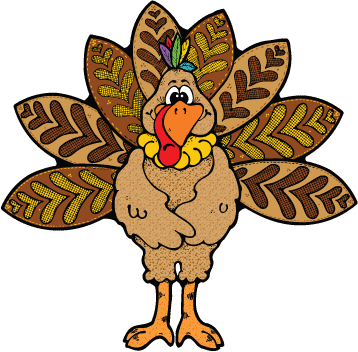 Gobble Gobble T-Shirts are great crafts around Thanksgiving. As well, this craft can very easily be done while teaching the girls more about the origins of American Thanksgiving and the importance of tradition and family. If t-shirts are a little outside the budget for your troop during this down economy, you can change the medium to poster board and make the same design on posters for decorations during Thanksgiving.
![]() Materials Needed:
Materials Needed:
- White t-shirt – pre-washed
- Fabric paint (nontoxic): red, gold, green, orange, brown, and white
- Alphabet foam stickers
- T-shirt board or wax paper
- Paper plate or pallet paper
- Paper towels
- Sponge brush
![]() Directions:
Directions:
- Place the t-shirt board inside of the t-shirt.
- Use the sponge brush to place paint colors on the girl’s hand and fingers.
- Have the girl steadily place her hand on the shirt to print the turkey, pressing gently on each finger to make sure the paint prints. You may need to hold her hand to help keep the print from smearing.
- Carefully lift her hand straight up off the shirt to avoid smudging. Immediately wash her hands with soap and water.
- Brush red paint on foam alphabet stamps and press on shirt and let dry.
- Use fabric paint to add detail to turkey, such as legs, beak and eye and let dry.
![]() Safety Tips!
Safety Tips!
- Adult supervision is required at all times.
- Ensure that all paint is dry before you let the girls take their t-shirts home.
- Double check that all paints used are nontoxic.
Remember that if you don’t have a t-shirt board, you can place a sheet of wax paper inside the shirt to prevent transfer of the paint.
Read More
